Creating a free mail newsletter for Hugo and other static site generators
Published July 21, 2022
The past week, I’ve been trying to find the best way to start a newsletter for my blog. I wanted it to be as basic as possible, free, accessible through an API and for subscribers to be able to choose which topics they subscribe to. I settled with MailerLite which offers all the functionality I just mentioned and is free up to 1000 subscribers. The whole setup is quite simple: the subscriber’s browser makes a POST request to a Cloudflare Worker endpoint that adds the subscriber’s email to the email list of the selected topics through the MailerLite API.
Requirements
- A Cloudflare account for Cloudflare Workers (or Deno Deploy with some extra work)
- A MailerLite account
- Any website that you are able to modify the HTML of
Table of contents
1. Setting up the MailerLite environment
Creating a group per topic
The first thing you need to do is sign up for a MailerLite account here. They’ll check you’re not using them to send out spam by asking you a few questions about the type of emails you’ll be sending.
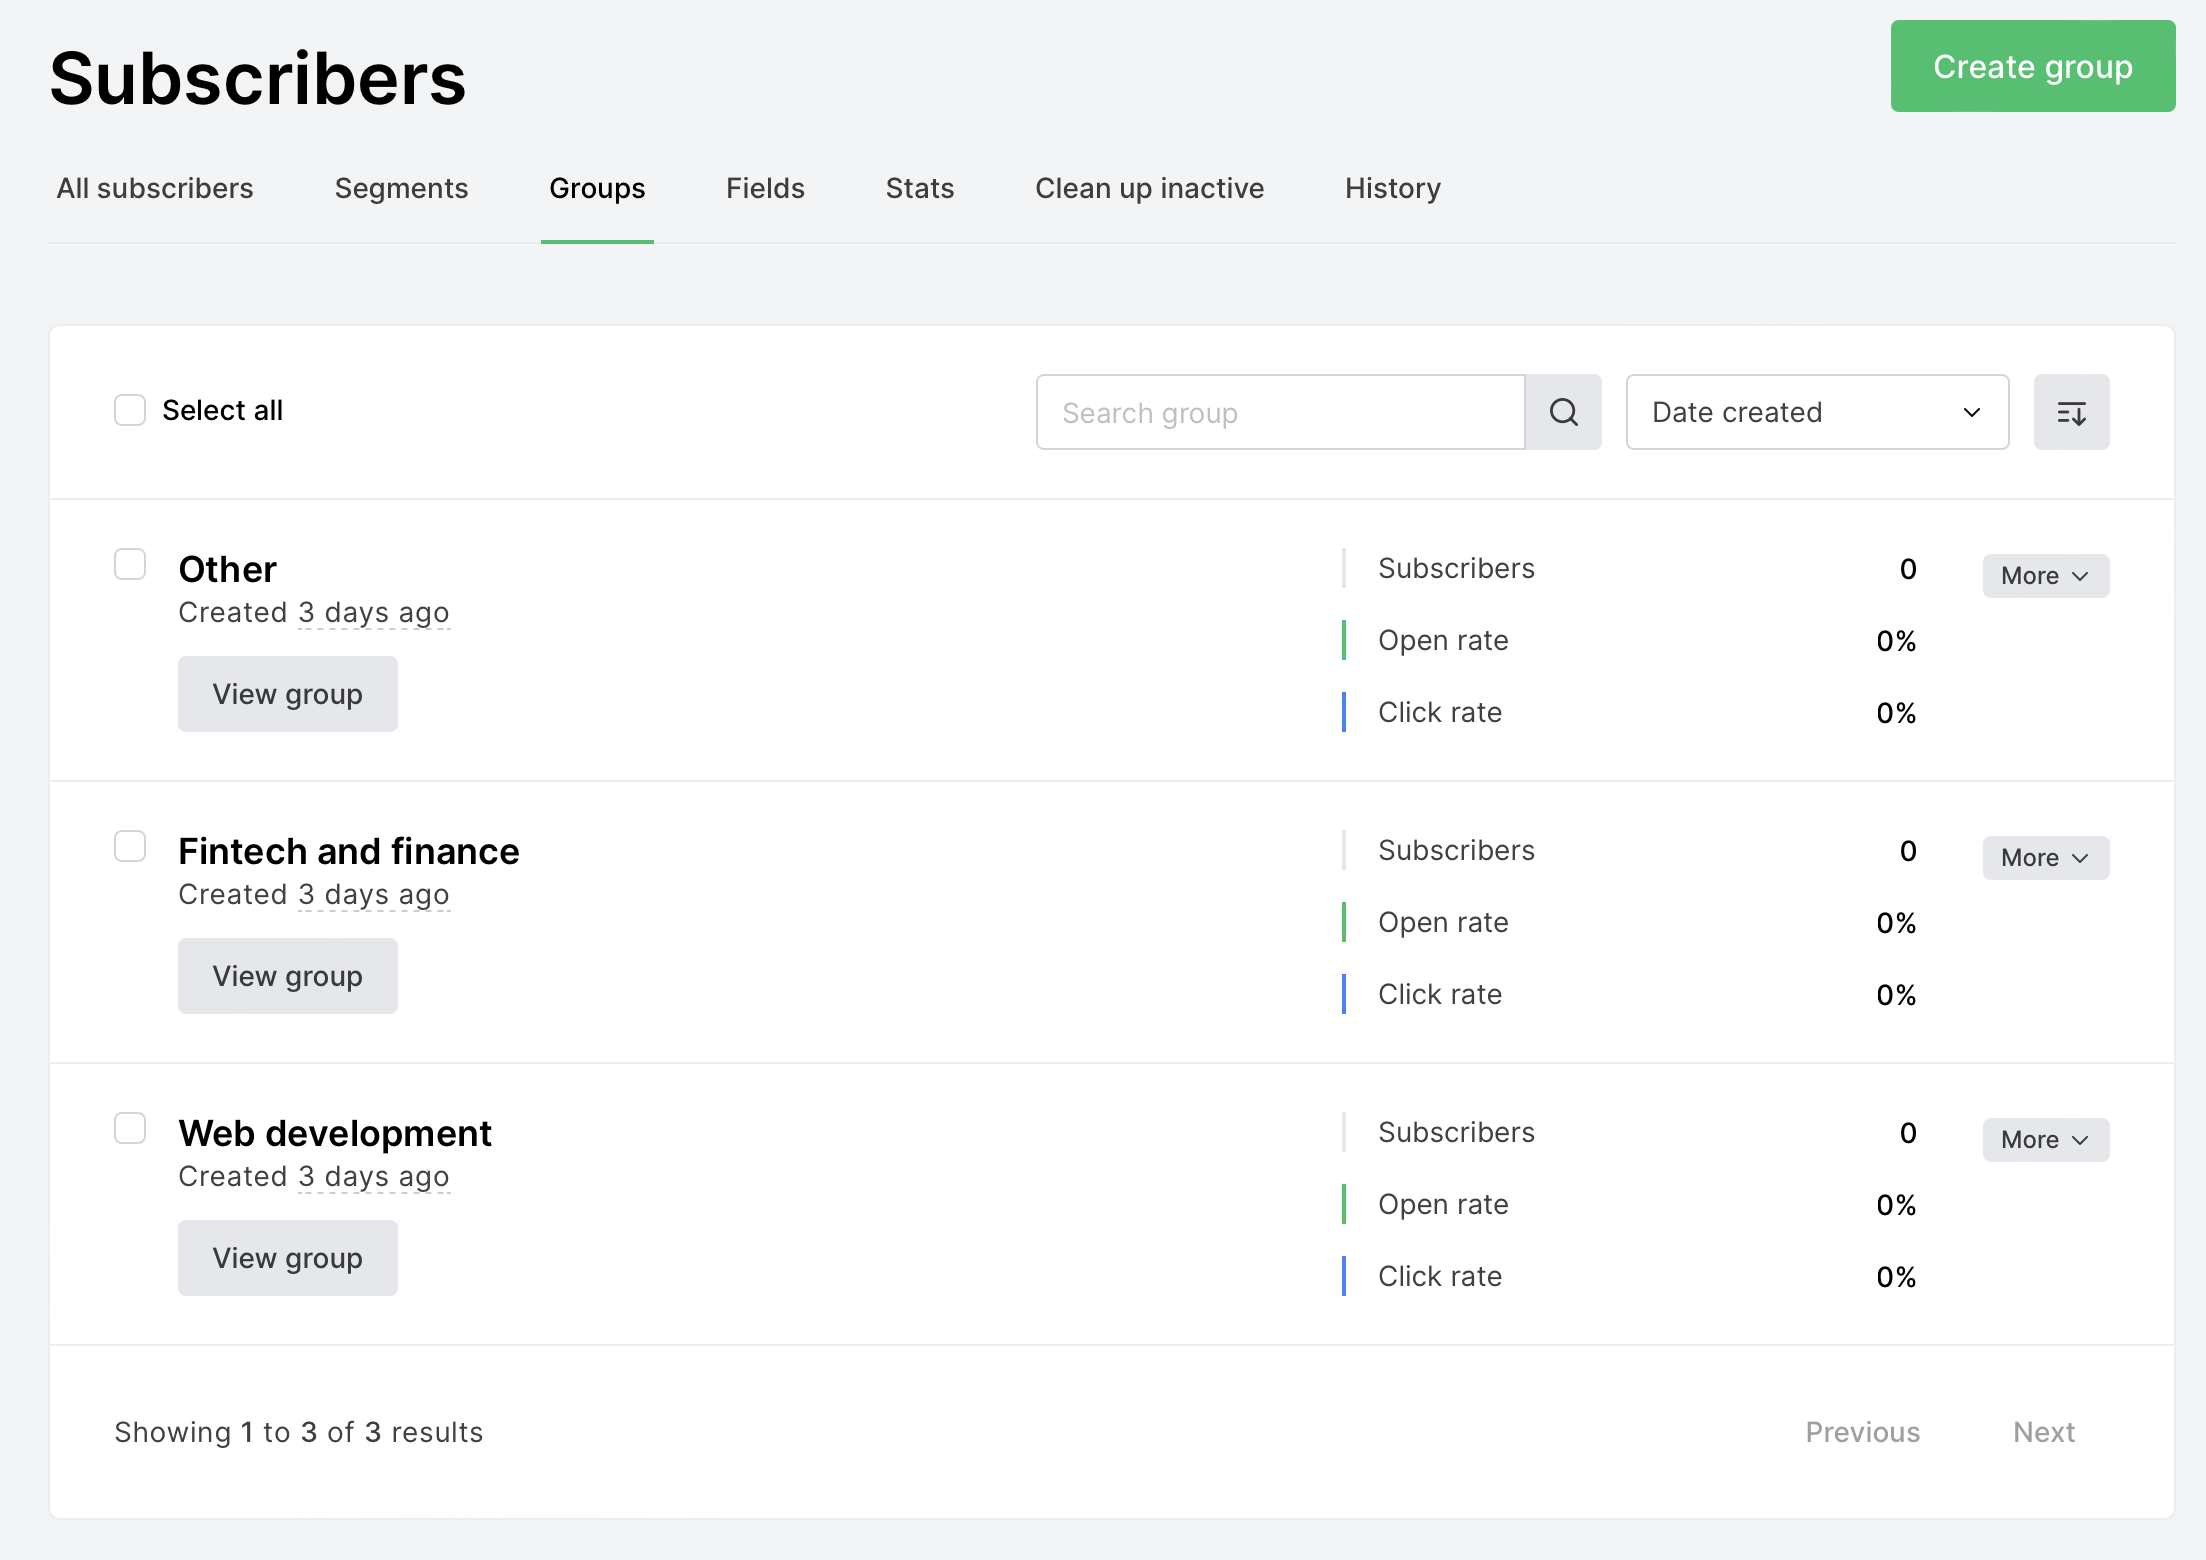
Once you’ve signed up and are in the dashboard, go to the “Subscribers” section and click on the “Groups” tab. Create a new group for each topic you want readers to be able to subscribe to. If you don’t need this functionality and would always like all of your subscribers to receive the same emails, then you don’t need to create any groups.
In my case, I will be writing about web development, finance and a few more random topics. I have created 3 groups that corresponds with these topics:
Getting your API token
Navigate to the “Integrations” section of the dashboard and click on the “Use” button in the API row. Now click on “Generate new token” and enter a token name such as “Cloudflare Worker”. Keep the token in the tab open or keep it in your downloads until you finish configuring your Cloudflare Worker in the next step.
2. Deploying and configuring the Cloudflare Worker
If you haven’t already, you’ll need to create a Cloudflare account here. Once you have your account, install the Workers CLI by running npm install -g wrangler and then logging in with wranger login.
Clone this repository by running git clone https://github.com/samjmck/cloudflare-workers-mailerlite.git. Run wrangler publish cloudflare-workers-mailerlite/src/index.ts --name mailerlite to create the Worker in your Cloudflare account and deploy the code to it.
Now visit the Cloudflare dashboard and go to the mailerlite worker. Go to the settings tab, click on variables and click on “edit variables”. Add the following environment variables:
MAILERLITE_API_TOKENshould be the token that you created in the previous step
3. Adding the form to your site
I created some a template for a form here, but ultimately you can style it however you want. The most important part is the JavaScript that makes the request to the Cloudflare Worker endpoint. The request body requires the email address of the person subscribing and the group ID’s they’re subscribing.
Finding group IDs
Keep in mind each group corresponds to a different topic you’ll be writing about. To find the ID of a group, login to your MailerLite dashboard and visit the “Subscribers” tab. Open the “Groups” section where you’ll see a list of the groups you created in the first step.
Click on the “View group” button of the group you want the ID of. For example, I will open the “Web development” group. Now look at the URL. It should look something like this:
https://dashboard.mailerlite.com/subscribers?rules=W1t7Im9wZXJhdG9yIjoiaW5fYW55IiwiY29uZGl0aW9uIjoiZ3JvdXBzIiwiYXJncyI6WyJncm91cHMiLFsiNjEzMjM1OTU2NTcyNTAwNDYiXV19XV0%3D&group=61323595657250046&status=active
At the end, there’s a segment with &group=.....&status=active. The numbers that following group is the group ID. In this case, the group ID for “Web development” is 61323595657250046
Adding JavaScript to your website
The template JavaScript code I wrote can easily be adapted to look something like this:
const email = "roman.roy@waystarroyco.com";
const selectedTopics = ["Web development"];
const groupIds = [];
for(const selectedTopic of selectedTopics) {
    if(selectedTopic === "Web development") {
        groupIds.push("61323595657250046"); // ID has to be a string
    }
}
const response = await fetch("/newsletter", {
    method: "POST",
    headers: {
        "Content-Type": "application/json",
    },
    body: JSON.stringify({
        email,
        groups_ids: groupIds,
    }),
});
let responseText;
if(response.status === 200 || response.status === 201) {
    responseText = "Thanks for subscribing, please check your inbox for a confirmation email.";
} else {
    responseText = "Could not subscribe";
}
The only thing that’s required now is to call this code when someone submits their email from a newsletter form. If you use Hugo or another similar static site generator, the following section will be useful to you.
Hugo configuration
My site uses the Hugo static site generator, so I have made a system to automate this even more.
Firstly, add an entry per group to your config.toml looking like so:
[[params.newsletter_groups]]
id = "61323516417410084"
name = "Fintech & finance"
[[params.newsletter_groups]]
id = "61323595657250046"
name = "Web dev"
Next, create a new partial layouts/partials/newsletter.html that looks like this:
<form class="newsletter">
    <p class="description">Subscribe to receive an email when I publish an article</p>
    <ul class="groups">
    {{- $groups := .Params.newsletter_groups -}}
    {{ range $.Site.Params.newsletter_groups }}
        <li><input type="checkbox" id="group_{{ .id }}" value="{{ .id }}" {{- if in $groups .name }} checked{{- end -}} /> <label for="group_{{ .id }}">{{ .name | humanize }}</label></li>
    {{ end }}
    </ul>
    <div class="inputs">
        <div class="input">
            <label for="email">Email</label>
            <input type="email" id="email" placeholder="john.doe@gmail.com" />
        </div>
        <button class="black" type="submit">Subscribe</button>
    </div>
    <p class="result"></p>
</form>
This will automatically create a checkbox for each group you just added to the config.toml with the value of the checkbox being the group ID. You can style the newsletter however you’d like. This basic template would be a good starting point.
You can also configure the checkboxes to the checked by default depending on what kind of blog post you are writing. For example, my finance posts have the “Finance & fintech” topic checked by default because they have this added to their front matter:
newsletter_groups = ["Finance & fintech"]Lastly, add the necessary JavaScript to the bottom of partial from this template:
<script>
    const formElement = document.querySelector("form.newsletter");
    const formCheckboxElements = formElement.querySelectorAll(`input[type="checkbox"]`);
    const emailElement = formElement.querySelector("input#email");
    const responseElement = formElement.querySelector("p.result");
    formElement.addEventListener("submit", async event => {
        event.preventDefault();
        const email = emailElement.value;
        const groupIds = [];
        formCheckboxElements.forEach(checkboxElement => {
            groupIds.push(checkboxElement.value);
        });
        const response = await fetch("/newsletter", {
            method: "POST",
            headers: {
                "Content-Type": "application/json",
            },
            body: JSON.stringify({
                email,
                groups_ids: groupIds,
            }),
        });
        if(response.status === 200 || response.status === 201) {
            responseElement.innerHTML = "Thanks for subscribing, please check your inbox for a confirmation email.";
        } else {
            console.error(`Could not subscribe to newsletter: ${response.status} ${await response.text()}`)
            responseElement.innerHTML = "Could not subscribe";
        }
    });
</script>
Say you want to add the newsletter form to the end of each blog post. You can simply do that by adding this to the end of the template:
{{- partial "newsletter.html" . -}}Now you should see a lovely newsletter form at the end of each blog post just like you’ll see at the end of this post.
For those that are interested, the code of this site is open-source. The setup is very similar to what I just described.
Again, if you are using a different static site generator or even just plain HTML, this basic template should get you up and running in no time.
Extra
Why not use the embedded forms MailerLite (or any other mailing service) gives you?
MailerLite also have embedded forms with HTML that you can put in your pages without requiring any extra work, but I like to avoid as adding third party scripts to my site as they are security risks and require extra bandwidth and CPU time for functionality that I probably won’t end up using. In this case, the script I wrote is 1kB vs the 9kB script that MailerLite has. So using my own script is safer and faster.
